
How to Scan a Receipt From Starbucks The Right Way
Tired of paper clutter? Learn how to scan a receipt from Starbucks with our friendly guide. We'll show you how to use apps for easy expense tracking.
Let's be honest, those daily Starbucks receipts can quickly turn into a crumpled mess in your wallet or at the bottom of your bag. But what if you could turn that coffee run into perfectly organized data? The secret is learning how to scan a receipt from Starbucks. All it takes is a quick photo with an app like Tailride, which uses smart tech to read and log all the important details for you.
Turn Your Coffee Runs Into Organized Data
Whether you’re a freelancer expensing coffee meetings or just trying to get a handle on your latte budget, digitizing your receipts is a lifesaver. This guide will walk you through the whole process - from taking a good, clear picture to having the data ready for your next expense report.
It helps that Starbucks is already set up for a digital-first world, offering both paper and digital receipts. Think about it: with over 34.6 million active U.S. Starbucks Rewards members, the company handles an incredible volume of transactions every single day. Many of those members get digital receipts sent straight to their inbox, which are perfect for uploading to an expense app. You can dig into their financial reports to see just how deep their digital integration goes.
A Quick Look at Starbucks Receipt Types
Here's a simple breakdown of the different Starbucks receipts you might get and the best way to digitize each one using a scanning app.
| Receipt Type | Where to Find It | Best Way to Scan |
|---|---|---|
| Paper Receipt | The classic thermal paper printout from the register. | Smooth it out on a flat, dark surface and snap a clear photo with your app. |
| Email Receipt | Sent to your inbox if you pay with the Starbucks app. | Forward it directly to your Tailride email for automatic processing. No photo needed! |
| In-App Transaction | Your purchase history is stored right in the Starbucks app. | While not a traditional receipt, you can take a screenshot and upload it to Tailride. |
Each type is a little different, but as you can see, there's a simple path to get them all logged and organized without much fuss. The key is knowing which one you have and the quickest way to get it into your system.
How to Get a Perfect Scan Every Time
Before you even think about opening the Tailride app, a little prep work goes a long way. The quality of the scan hinges entirely on the photo you snap, and trust me, I’ve learned the hard way that wrestling with a blurry image is way more painful than taking a few extra seconds to get it right the first time.
Think of it this way: you're giving the app's AI the best possible chance to work its magic. A clean shot means less manual fixing for you later on. The whole point is to get a crystal-clear picture so all the important details from your Starbucks receipt - the date, the total, everything - get pulled in perfectly.
Set the Stage for a Clear Photo
Getting that perfect scan really boils down to two simple things: good light and good contrast. You don’t need a fancy studio setup, just a bit of common sense.
-
Find Good, Even Lighting: Got a window nearby? Natural light is your best friend. If it’s nighttime, just use a regular room light. Try to avoid your phone's flash at all costs - it creates a nasty glare that can completely wash out the text on the receipt.
-
Use a Contrasting Background: Lay the receipt down on a dark, flat surface. A wooden desk or even a dark placemat works great. This helps the app's camera easily spot the edges of the white paper.
-
Smooth Out the Wrinkles: A crumpled-up receipt is the arch-nemesis of any scanning app. Take a quick second to flatten it out before you take the picture.
Capturing a clear image is the single most important step in the entire process. A good scan means less time spent editing and more time focusing on what matters - your business.
When you feed the AI a sharp, well-lit photo, it can instantly grab the key info like the store name, date, and total amount. Taking these few seconds is truly the best way to scan receipts and avoid a major headache. If you want to dive deeper, our guide on scanning practices is packed with more tips.
By starting with the best possible image, you're paving the way for a super smooth and fast expense workflow.
Scanning Your Receipt with the Tailride App
Alright, let's turn that paper Starbucks receipt into a tidy digital record. The beauty of the Tailride app is that it's built to be fast and intuitive - no digging through confusing menus. It all starts with a single tap.
When you open up Tailride, you'll spot the camera icon right away. Tap it, and your camera fires up, ready to go. The app even gives you on-screen guides to help you line up the receipt perfectly, so you can be sure you're getting the whole thing in the shot.
This image shows you exactly what a good scan setup looks like.
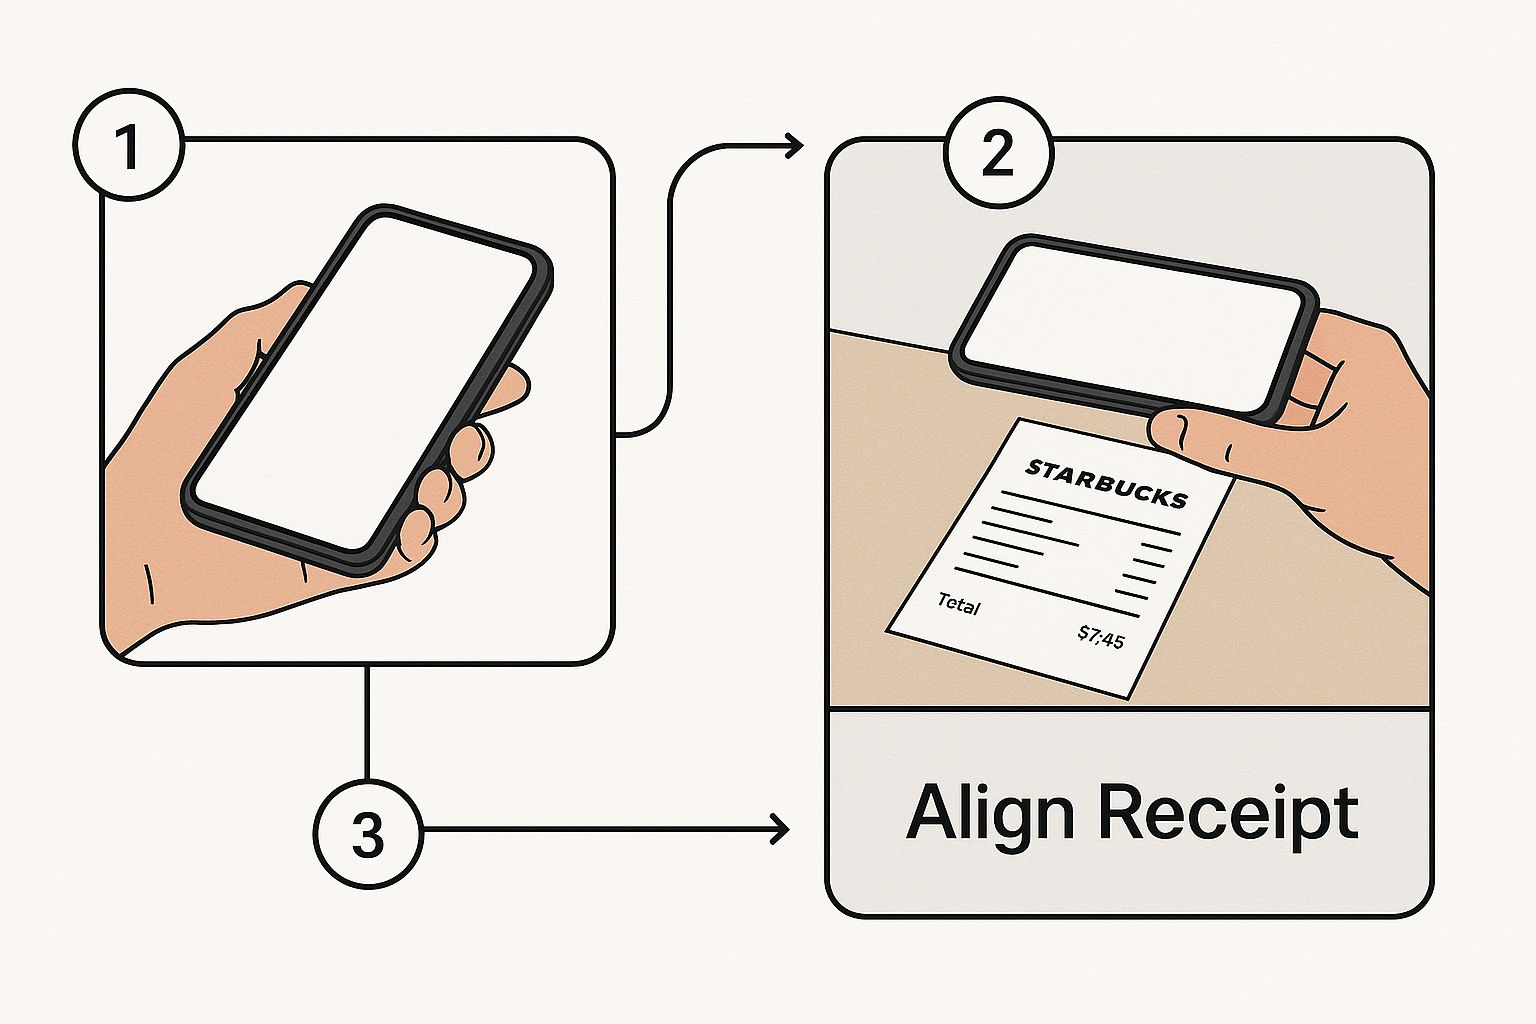
The key is to hold your phone parallel to the receipt. This simple trick helps avoid weird angles and shadows, making sure every last detail is captured clearly.
From Photo to Data in Seconds
Think about it: you’ve just wrapped up a coffee meeting with a client. Before you even leave the table, you can snap a picture of the receipt. The moment you do, you'll see Tailride’s AI get to work, instantly highlighting key details like the merchant name (Starbucks), the date, and the total amount. It's pretty cool to watch a crumpled piece of paper turn into structured data right before your eyes.
This is more than just taking a picture; it's smart data extraction. Apps that use AI for this have totally changed the game. In fact, AI-powered receipt tracking can slash manual bookkeeping time by as much as 70%. For anyone juggling expenses from places like Starbucks, that’s a massive win. You can dig into more stats on how AI has reshaped the expense industry over at Cafely.com.
The second you snap that photo, Tailride’s optical character recognition (OCR) technology kicks in. It’s not just saving a picture - it’s actually reading the text to create an expense entry you can edit and search later.
After the scan, the app shows you all the extracted data for a quick once-over. The whole thing, from opening the app to having a digital record ready to be categorized, usually takes less than 30 seconds. This is exactly how you stop that dreaded pile of receipts from ever forming again.
Now, Let’s Get Those Starbucks Expenses Organized
Okay, so you've snapped a picture of your receipt. Nice work, but that's just the first step. The real magic happens when you turn that simple photo into clean, organized financial data. This is how you truly master scanning Starbucks receipts for your business.
Once Tailride works its magic and pulls the data, take a quick peek. Just a glance is all it takes to make sure the merchant name, date, and total look right. Our AI is ridiculously good, but a quick double-check is always a smart habit.
Add Some Context with Categories and Tags
Now for the important part: giving that expense some meaning. Was that Venti latte a "Business Meal" while wooing a new client, or was it just a "Personal" caffeine fix? Getting the category right is crucial.
Think about it this way. If you’re a freelancer who just met with a potential client, you’d want to log that Starbucks receipt with some detail:
-
Category: Meals & Entertainment
-
Project: Q3 Client Outreach
-
Note: "Coffee with Sarah from Acme Inc. to discuss project scope."
See how much more useful that is? This kind of detail makes tax time a walk in the park and gets you reimbursed without any back-and-forth. You’re not just saving a picture; you're creating a story for every dollar spent. If you want to really nail down this process, our guide on choosing the right receipt organizer for business is a great next read.
A simple category, a project tag, a quick note - that’s all it takes to build an audit-proof record. Six months from now, when you or your accountant are wondering what that expense was for, you’ll have the answer in seconds.
Let's walk through a real-world example. Imagine you’re a consultant who treated your team to coffee three times last week. You can tag all three receipts as "Team Expenses" in a flash. But what if one of those coffee runs was specifically for the "Project Alpha Kickoff" meeting? Just add that as a second tag. This simple layering gives you incredible clarity when you're reviewing your monthly spending. It’s this tiny habit that transforms a shoebox of messy receipts into a powerful financial command center.
Pro Tips for Next-Level Receipt Management
Alright, you've nailed the basics of scanning that Starbucks receipt. Ready to take things up a notch? Let's dive into a few of my favorite time-saving features in Tailride that will make you an expense-tracking pro.
Go Camera-Free with Email Forwarding
One of the slickest tricks is handling digital receipts without ever opening your camera app. If you’re like me and use the Starbucks app, you get an email receipt after every purchase. Instead of bothering with a screenshot, you can simply forward that email directly to your unique Tailride address.
It’s almost magical. Tailride grabs all the info, creates a perfect entry, and you didn't have to lift a finger.
Put Your Workflow on Autopilot with Smart Rules
Now for the real game-changer: automation. You can set up "smart rules" in Tailride that do all the tedious sorting for you. This is where you graduate from just capturing receipts to building a system that runs itself.
Think about it. You can create a simple rule like this:
-
If the merchant is "Starbucks", then...
-
Automatically categorize that expense as "Meals & Entertainment".
Boom. Just like that, you’ll never have to manually categorize another coffee run. Tailride sees the receipt come in and just knows what to do. You can set this up for any place you visit regularly, from your favorite lunch spot to your office supply store.
Setting up smart rules is the difference between doing your expenses and having them done for you. It’s about letting the software handle the boring stuff so you can get back to your real work.
Splitting Expenses Without the Headache
Here’s a situation I run into all the time: I grab coffee for myself and a client. The receipt has one total, but the expense needs to be split. Part of it is a business write-off, and the other part is personal.
Tailride makes this super simple. Once the receipt is uploaded, you can split the transaction into as many pieces as you need. For a $9.50 total, you could easily assign $4.75 to "Business Meals" and the other $4.75 to "Personal." No more messy notes or complicated math - just clean, accurate books, which your accountant will thank you for.
These aren't just fancy features; they're practical tools that build on Tailride's powerful receipt scanning OCR to create a truly hands-off workflow. By combining email forwarding, smart rules, and expense splitting, you turn a simple receipt scan into a fully automated part of your financial routine.
Still Have Questions About Scanning Receipts?
Got a few lingering questions about scanning that Starbucks receipt? It's totally normal. Let's tackle some of the common things people ask when they're getting into the groove of turning coffee runs into clean expense data.

Honestly, sorting out these little details now is what makes the whole process feel effortless later on. Once you get these down, you'll be a pro.
What If My Starbucks Receipt Is Too Faded?
Ah, the classic faded thermal receipt. We’ve all been there. If the ink has seen better days, your first move should be to create some contrast. Lay the receipt on a dark surface and find a spot with bright, even lighting - but try to avoid direct glare.
Still no luck? Don't sweat it. Good receipt apps, like Tailride, have a fallback plan. You can just switch to manual entry. You’ll still snap a quick photo of the receipt as proof, then simply type in the key details like the total, date, and "Starbucks." This way, even a ghost of a receipt gets logged correctly.
Don't let a faded receipt break your workflow. A quick manual entry keeps your records complete and accurate, which is the most important goal.
Can I Scan More Than One Receipt at Once?
I get why you'd ask, but for the best results, stick to one receipt per photo. When you try to capture a bunch at once, the software gets confused trying to figure out where one receipt ends and the next begins. You'll end up with jumbled data and a bigger mess to clean up.
The good news is that modern apps are designed for speed. With Tailride, you can snap photos one after another in a kind of rapid-fire mode. The app just processes them in the background. You can clear out a whole wallet's worth of receipts in less than a minute without losing any accuracy.
Does Scanning My Receipt Add My Rewards Points?
This is a really important one to get straight. Your expense management app and your loyalty app are two different tools for two different jobs. To get your Starbucks Stars, you must scan your member code from the official Starbucks app when you pay.
Think of it this way: the Starbucks app is for your rewards, and an app like Tailride is for your financial records. You use the first one at the counter, and the second one a few minutes later to log the expense. Keeping those two things separate is the key to clean bookkeeping and a healthy stash of Stars.
Ready to stop stuffing receipts in your wallet and start creating perfect digital records in seconds? Tailride automates the entire process, from scanning paper receipts to forwarding email invoices, so you can focus on your business. Try Tailride today and see your first invoice processed in under a minute.