
How to Print a Receipt From Lyft for Expenses
Need a Lyft receipt for your expense report? Learn how to print a receipt from Lyft using the app or website with our simple, friendly guide.
We've all been there: that moment of panic when you realize you need a ride receipt for your expense report, and it's nowhere to be found. Good news! Getting a receipt from Lyft is actually pretty straightforward, whether you're on the go or back at your desk.
You can snag a receipt right from the Lyft app on your phone or, for more powerful options, use the Lyft website on your computer. The best method really just depends on what you need to do.
Your Quickest Ways to Get a Lyft Receipt
So, you need that Lyft receipt, like, yesterday. Let's get it sorted. One of the best things about Lyft is that an email copy of your receipt is automatically sent after every single ride, so your inbox is always a good first place to check.
If you use Uber too, you might find our guide on getting your Uber receipt helpful for keeping all your expenses in order.
For a more comprehensive look at your ride history, especially if you need to pull multiple receipts at once, the Lyft website is your best friend.

As you can see from the ride history page, you can easily filter by date and even export summaries. This is an absolute game-changer for anyone who has to submit monthly expense reports. Instead of hunting down individual emails, you can grab everything in one go.
Choosing Your Method: App vs. Website
Not sure which route to take? This little table breaks down the key differences to help you decide in a flash.
| Feature | Lyft App (Mobile) | Lyft Website (Desktop) |
|---|---|---|
| Best For | Quickly finding a single, recent receipt. | Expense reports & downloading multiple receipts. |
| Primary Function | View individual ride details & resend receipt. | Filter, view, and export ride summaries (CSV). |
| Ease of Use | Very simple, great for on-the-go access. | More powerful, requires a computer. |
| Printing | Requires sending to email first, then printing. | Allows direct printing from your browser. |
Ultimately, both methods get the job done. The app is perfect for a quick look-up, while the website gives you the control you need for more detailed accounting.
Getting a Single Lyft Receipt From the App
So, you just hopped out of a Lyft after a client meeting and need to get that receipt over to accounting ASAP. The good news is you don't have to dig through your inbox. The Lyft app makes it incredibly simple to grab a receipt from any past ride in just a few seconds.
Let's walk through it. First, pop open the app on your phone. Look for the three-line menu icon, usually tucked away in the top-left corner, and give it a tap. This opens up your main menu, where you'll see an option for ‘Ride history’. Go ahead and select that.
This little infographic gives you a quick visual of where to find everything.
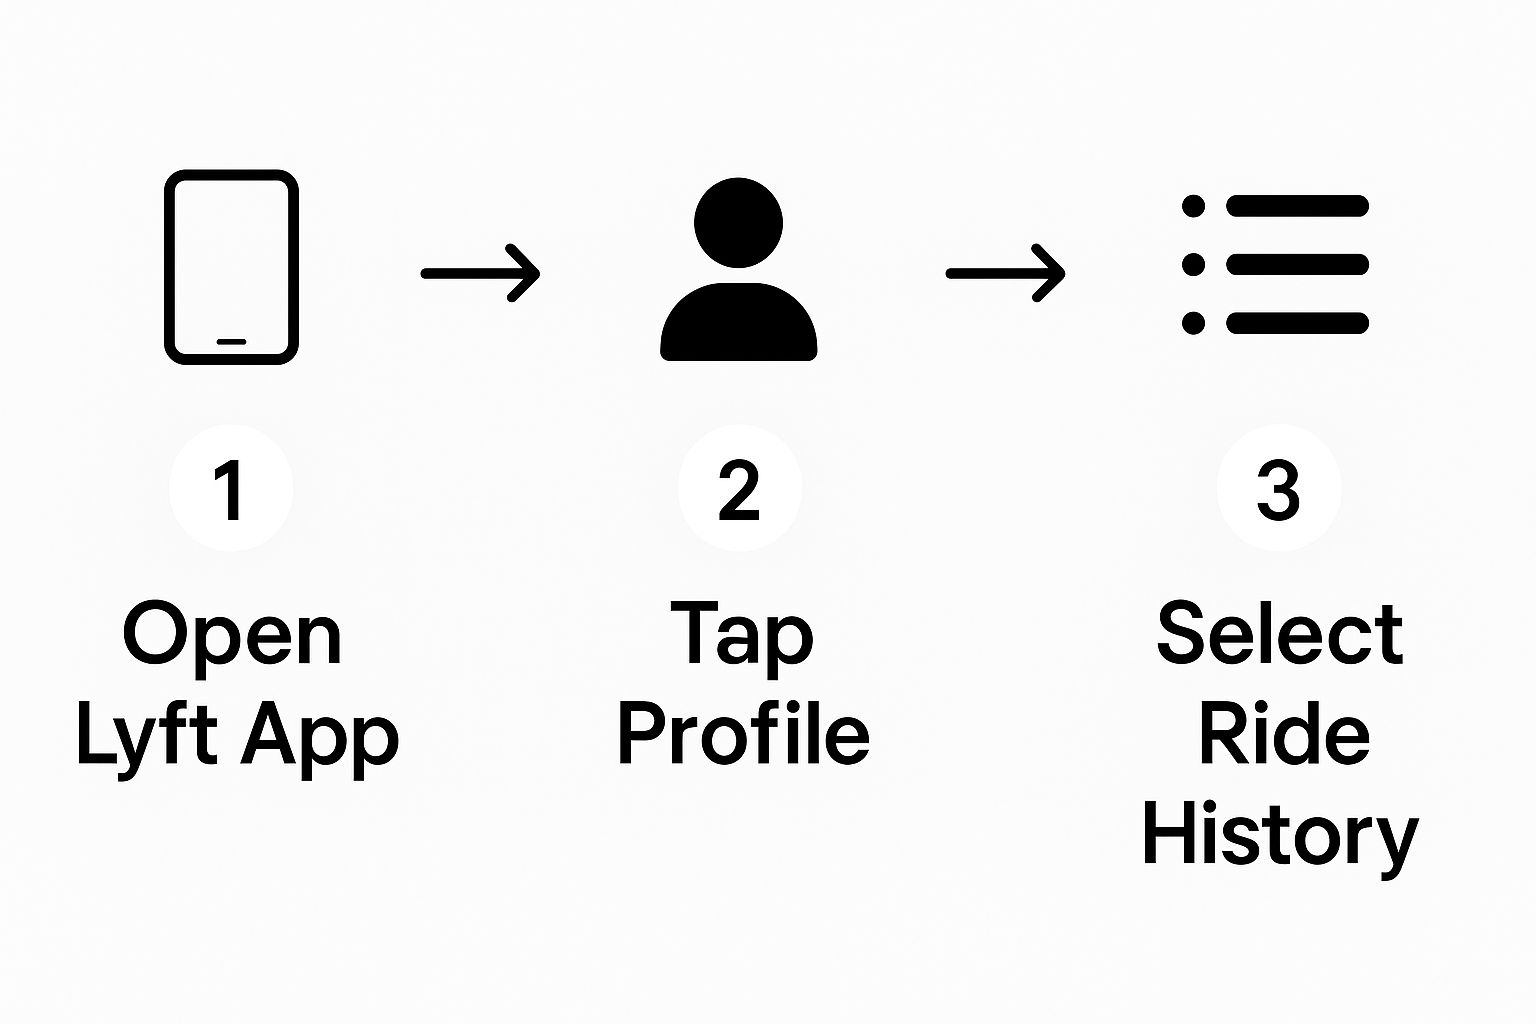
As you can see, it’s a pretty straightforward path from the home screen right to your list of trips.
Finding and Sending the Right Receipt
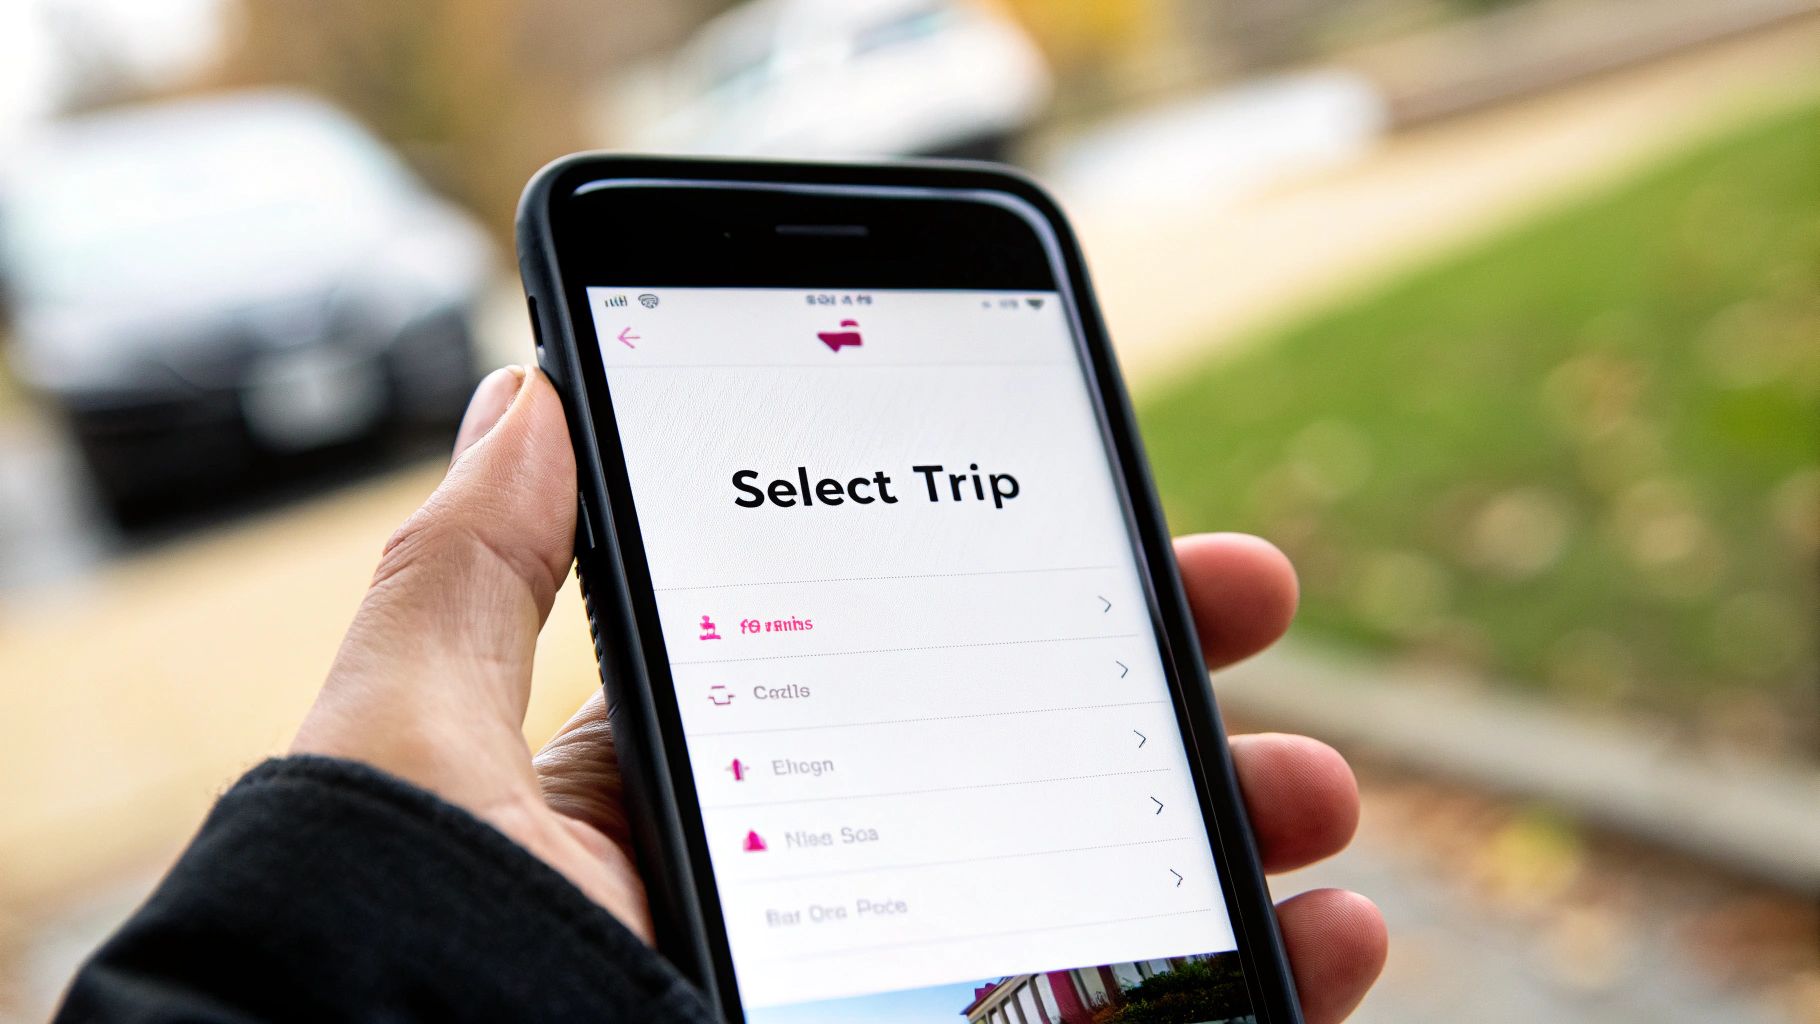
Now you're looking at a list of all your recent rides. Just scroll down until you find the one you need - say, that trip to the airport last Tuesday. You can spot it by checking the date, time, and route.
Once you’ve found it, tap on that specific ride. This will pull up a detailed summary of the trip. At the very bottom of this screen, you'll see a button that says ‘Email receipt’. Give that a tap, and voilà! Lyft will instantly send a fresh copy of the receipt to the email address linked to your account.
Here’s a pro tip: If you juggle both a personal and a business profile in the app, make sure you've selected the right one before you start searching your ride history. It’s a small check that can save you a ton of time scrolling through rides that aren't relevant for your expense report.
Exporting Multiple Receipts for Expense Reports
Let's be honest, handling receipts one by one is a massive time sink, especially when your monthly expense report deadline is looming. This is exactly where the Lyft website shines. It’s built for these kinds of bulk tasks, letting you grab an entire month's worth of ride data in just a few clicks.
Think about it: you just got back from a week-long business conference and have a dozen rides to account for. Instead of digging through your inbox and forwarding each email receipt, you can just hop on your computer. Log into your Lyft account and head straight to the 'Ride history' section. This is where the magic happens. You’ll find handy filters that let you zero in on the exact date range you need, like the specific week you were at that conference.
Generate Your Custom Report
Once you’ve set your dates, Lyft will pull up every single trip from that period. You can then select them all and export a summary. Seriously, this feature is a total game-changer for keeping your expenses organized and making sure your reimbursements are spot-on.
You can usually choose between a CSV file, which is perfect for dropping into Excel or Google Sheets, or a PDF summary that's ready to print and submit. This flexibility is great because you can pick whatever format your accounting department prefers.
For anyone who wants to take this a step further, you can look into tools that automate email invoice extraction, which can pull receipts directly from your inbox without you lifting a finger.
Once you've mastered pulling your receipts, it's worth checking out the broader workflow automation benefits that can smooth out your entire expense reporting process. Knowing how to print a Lyft receipt is a great first step, but automating the whole chain can save you tons of time and headaches.
What's Actually on Your Lyft Receipt?
Ever taken a quick look at your Lyft receipt and just shrugged at the line items? It's easy to just focus on the final total, but if you're expensing rides for work or just trying to keep your budget in check, knowing what's what is a game-changer.
Let's break down exactly what you're paying for. This way, you can file those expense reports with total confidence.
The first thing you’ll typically see is the base fare. Think of this as the flat fee just for starting the ride. From there, the cost builds based on the specifics of your trip.
The Building Blocks of Your Fare
Once the base fare is set, a few other factors come into play. This is where the price can really change from one ride to the next.
Here’s what to look for:
-
Time and Distance: This is the heart of your fare. It's the charge for how long the trip took and the number of miles you covered.
-
Tolls and Surcharges: Did you cross a bridge or get picked up from the airport? Any tolls or special fees like that get passed directly onto your receipt.
-
Service Fee: This is Lyft's cut. It helps them run the platform, invest in safety features, and keep everything operational.
-
Tip for Driver: If you tipped your driver (which is always a nice thing to do!), you'll see that amount listed separately right here.
Don't forget to check for any promotions or discounts! They'll show up as a credit, reducing your subtotal. This is a super important detail for accurate expense reports.
Getting familiar with these pieces means you're no longer in the dark about your ride costs. You’ll have full transparency into every dollar spent, making it simple to manage your travel expenses, even on those complicated trips with multiple stops.
Solving Common Receipt Problems
So, what happens when a receipt vanishes or a fare just doesn't look right? Don't stress - these things happen, and thankfully, the fix is usually pretty straightforward.
Before you start digging too deep, check your email's spam or junk folder. It’s the most common reason for a "missing" receipt. Overzealous email filters can sometimes tuck it away by mistake.
Also, double-check that you're logged into the correct Lyft profile. If you juggle both a personal and a business account, it's surprisingly easy to be looking in the wrong ride history.
When to Contact Support
If you’ve checked everywhere and still can't find your receipt, or if you spot a charge that seems off, it's time to get in touch with Lyft's support team. They're great at investigating fare issues and can manually resend any receipt you need.
When you reach out, give them all the details right away. Have the date, time, and pickup/drop-off locations for the ride ready to go. The more specific you are, the faster they can sort things out for you.
Keeping your receipts in order from the start makes all the difference, especially for business expenses. For more tips on that, take a look at our guide on how to organize business receipts. Knowing how to handle these little bumps in the road will keep your expense reporting smooth and stress-free.
Got Questions About Your Lyft Receipts? We’ve Got Answers.
When it comes to tracking your rides, a few questions always seem to pop up. Whether you're digging up an old trip for an expense report or trying to keep your work and personal rides separate, getting your receipts sorted shouldn't be a headache. Let's tackle some of the most common hurdles.
Ever find yourself needing a receipt from a trip you took ages ago? Good news. Lyft keeps a complete record of your ride history. You can absolutely pull up a receipt from a ride you took last year, or even further back. Just hop into the app or log in on their website, navigate to your ride history, and set the date range to find the exact trip you need.
Untangling Business Travel and Getting the Right File Format
If you use Lyft for work, keeping those expenses separate is a must. The easiest way I've found to handle this is by creating a Lyft Business Profile. You can set this up right in the 'Payment' section of the app. Just add your work email and a company card, and Lyft will automatically send receipts for those rides to the right place. It's a lifesaver for keeping your expense reports clean.
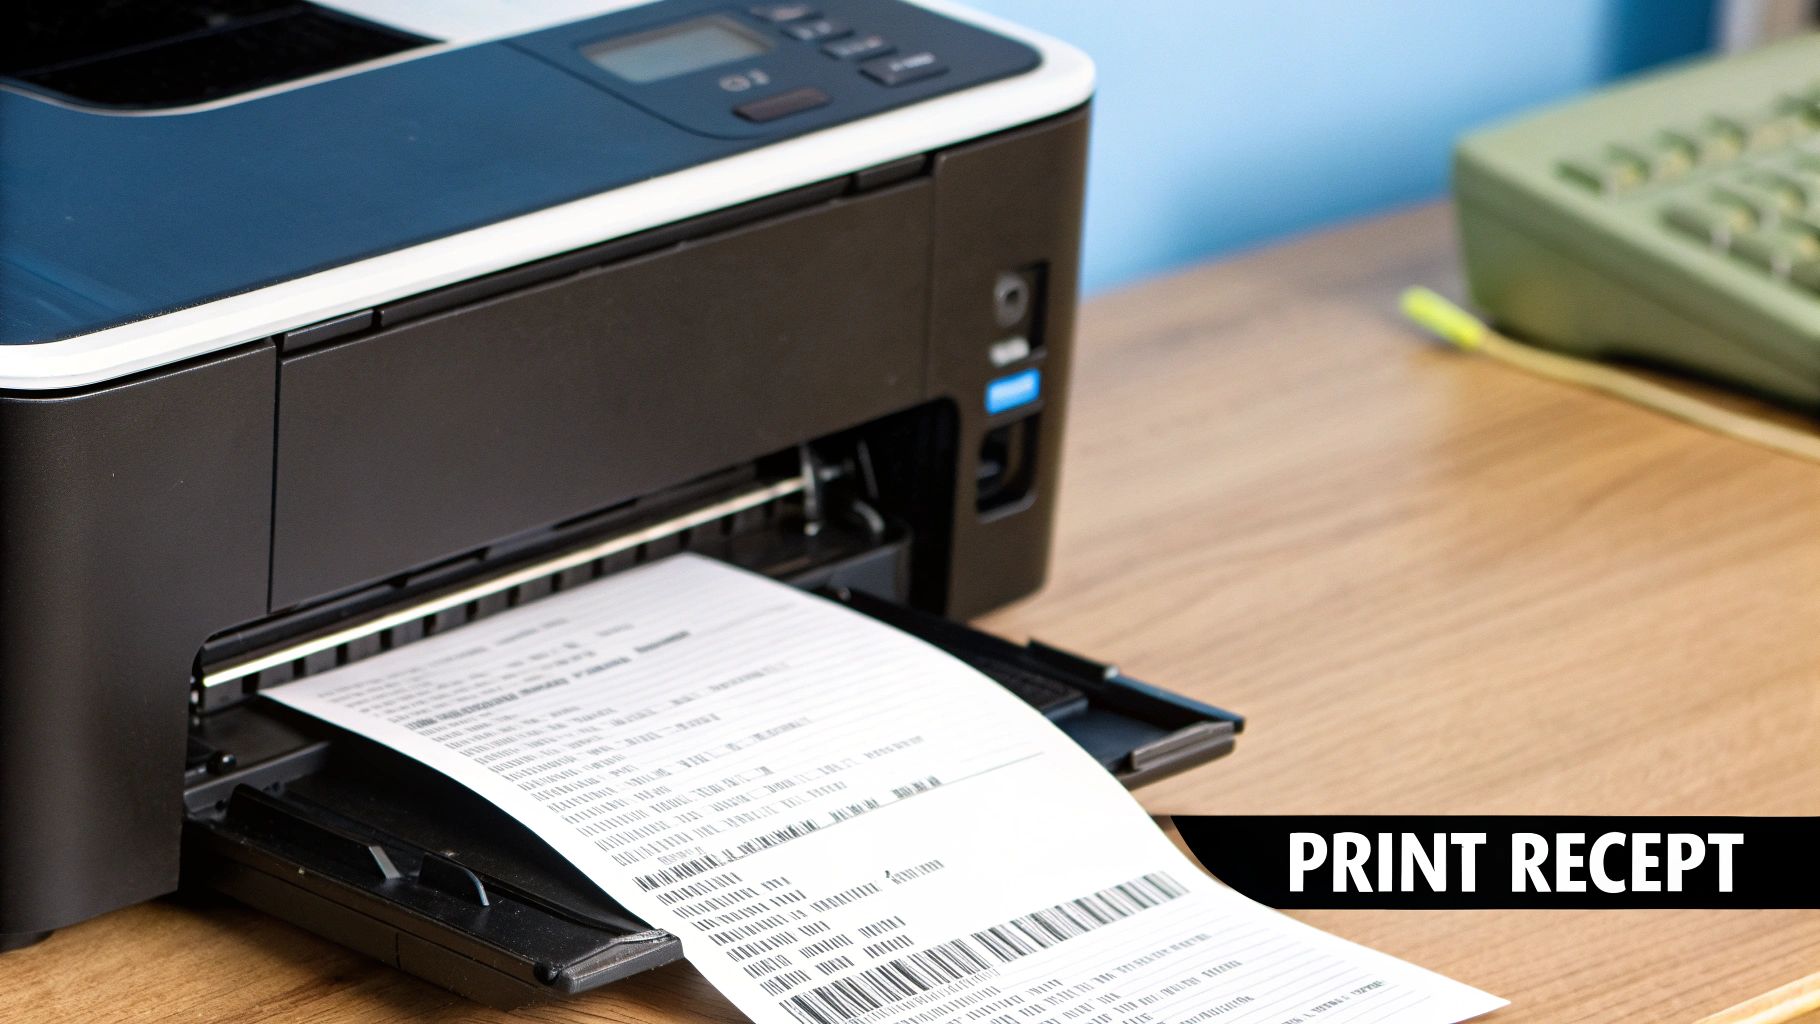
Okay, so you've found the receipt. Now, how do you print it or save it? Your options depend on where you're accessing it.
-
On the App: The app lets you resend the receipt to your email. From there, you can print it directly from your inbox or use your computer's print function to save it as a PDF. Simple and straightforward.
-
On the Website: Logging in on a computer gives you more flexibility. You can download a CSV file of multiple rides, which is perfect for dropping into a spreadsheet. Or, you can download individual trips as clean, ready-to-print PDF receipts.
Stop wasting hours on manual data entry. Tailride connects to your inbox to automatically extract, categorize, and export receipt data to your accounting software in seconds. Get started with Tailride today.